
Taking the right photos
Distance, lens, lighting, expression and angle. Most inaccurate scores start here.
Every measurement is taken from your photo, so the photo has to show your face as it actually is: undistorted, level, evenly lit and expressionless. A phone held at arm's length fails all four. Ten minutes spent on setup is worth more than any other single thing you can do for accuracy.
The setup
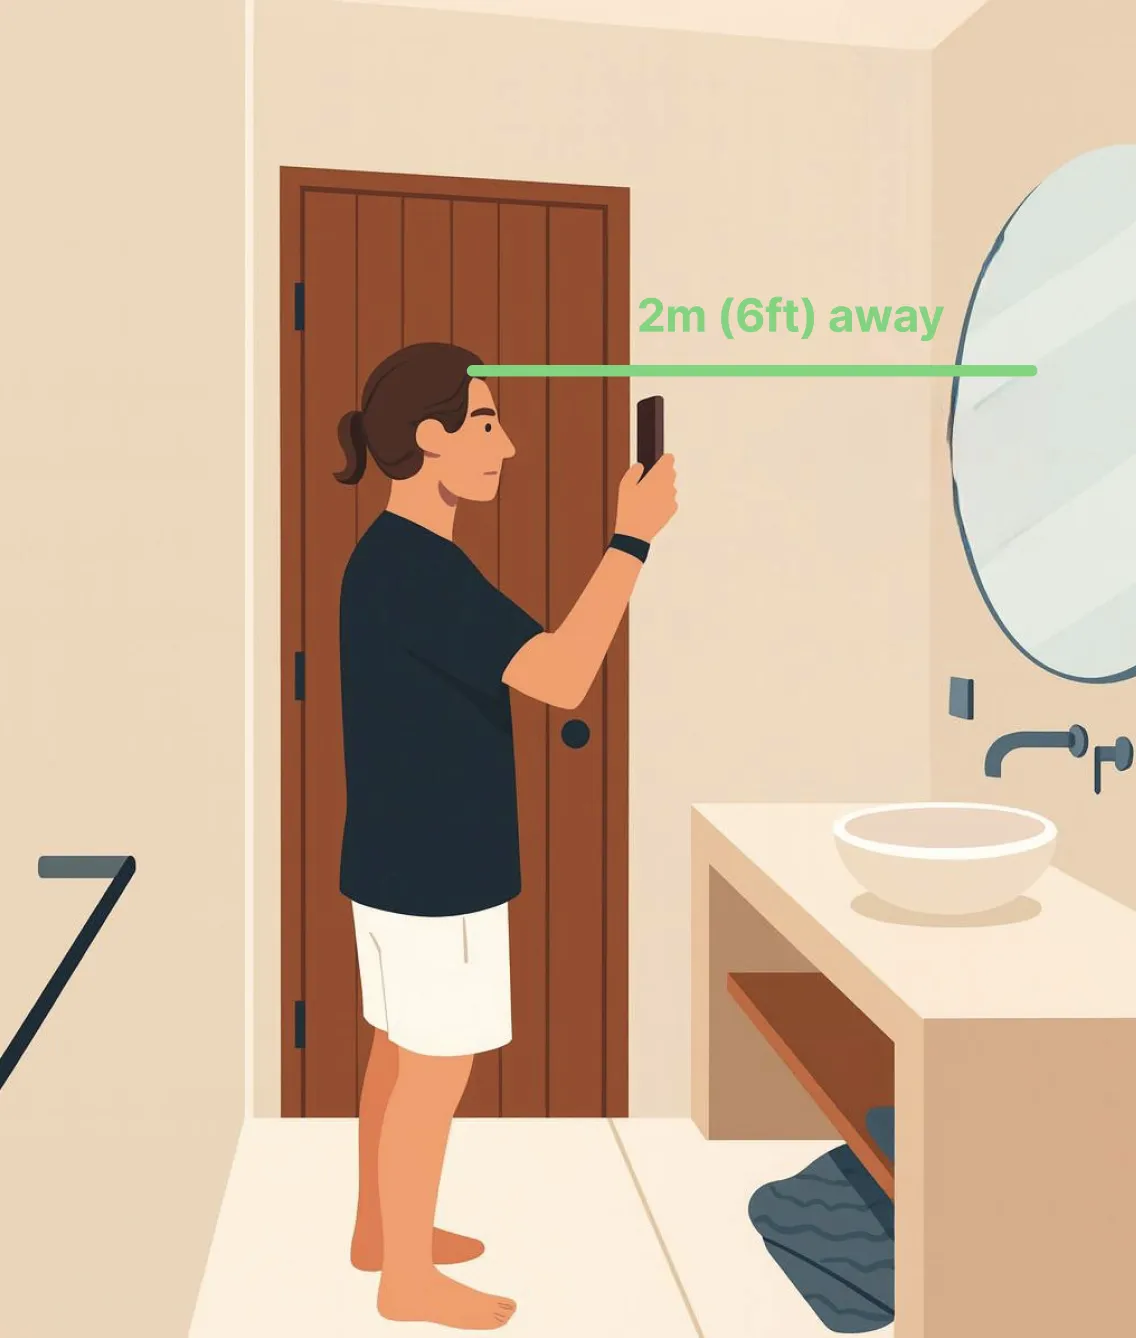
- Six feet (about two metres) from the camera. Distance is what removes perspective distortion. Prop the phone up, or have someone hold it.
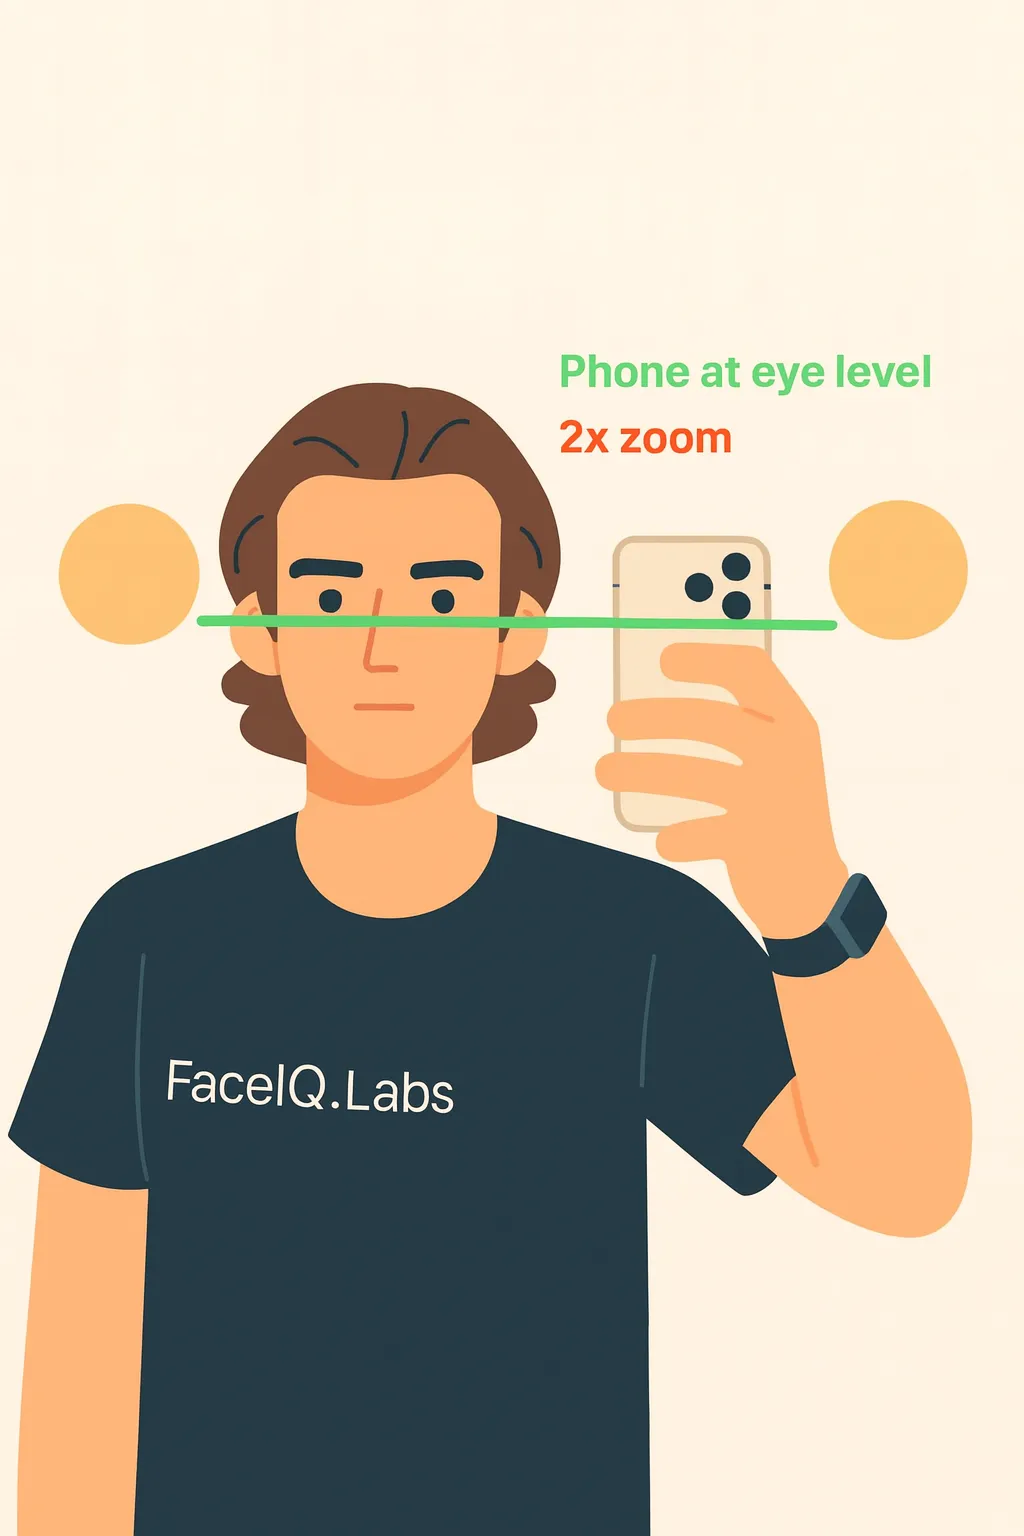
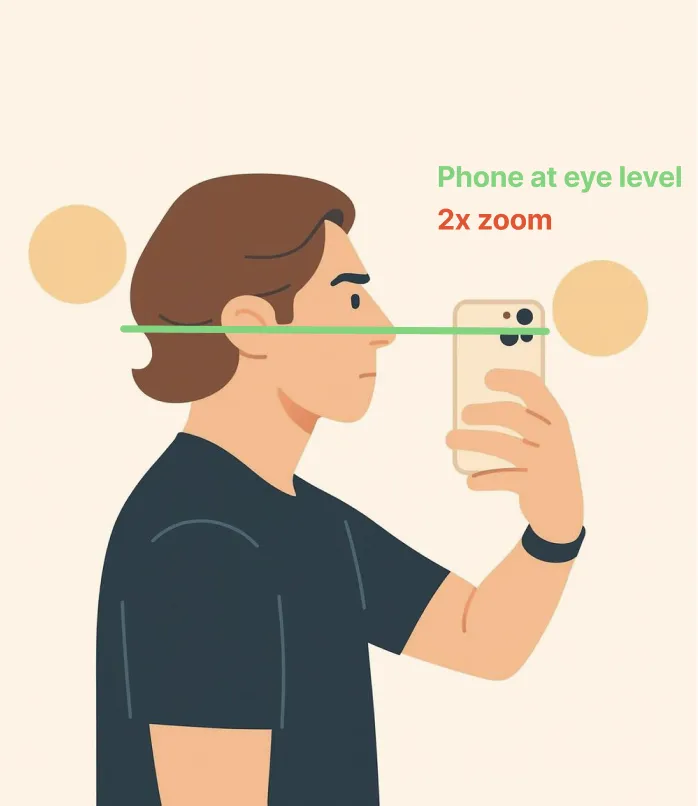
- Back camera, 2× zoom. The rear camera has a longer focal length and far less wide-angle distortion than the selfie camera. Zoom in rather than stepping closer.
- Camera at eye level. Shooting from above shrinks the jaw; shooting from below enlarges it. Both change your ratios.
- Even, soft light. Face a window or a diffuse light source. Avoid overhead lights and direct sun, which carve shadows under the brows, nose and jaw and are read as structure.
Why the selfie camera is the problem
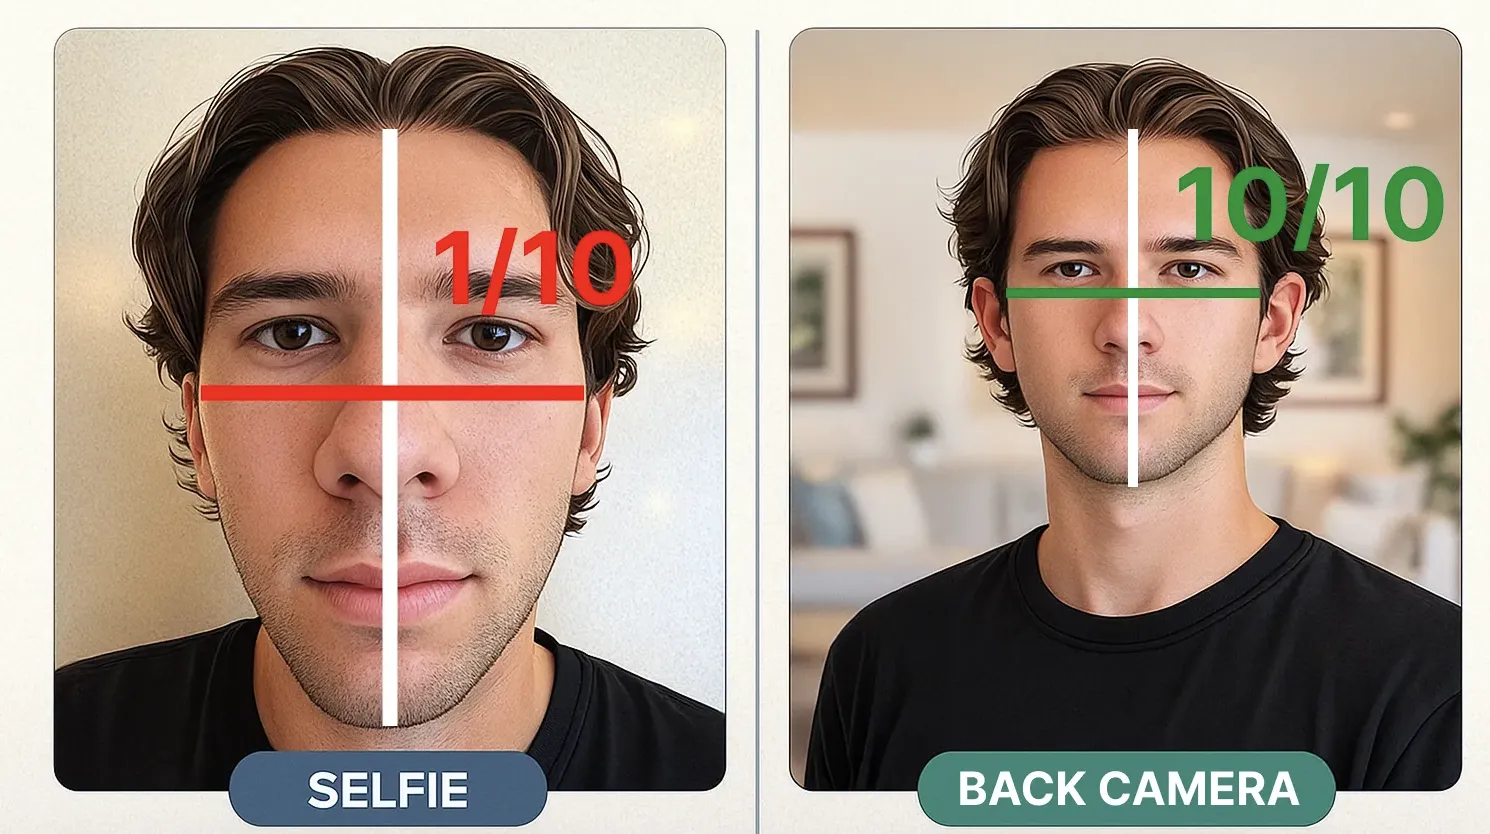
A wide lens close to the face exaggerates whatever is nearest to it. The nose grows, the face lengthens, the eyes drift apart and the ears disappear. The geometry is genuinely different from your face, so the ratios calculated from it are genuinely wrong. This is not something landmark placement can fix afterwards.
| Selfie camera, arm's length | Back camera, six feet, 2× zoom |
|---|---|
| Wide-angle distortion | Near-orthographic view |
| Bigger nose, longer face | Proportions as others see them |
| Ratios shifted from reality | True facial ratios |
| Score does not reflect your face | Score you can trust and repeat |
Front photo checklist
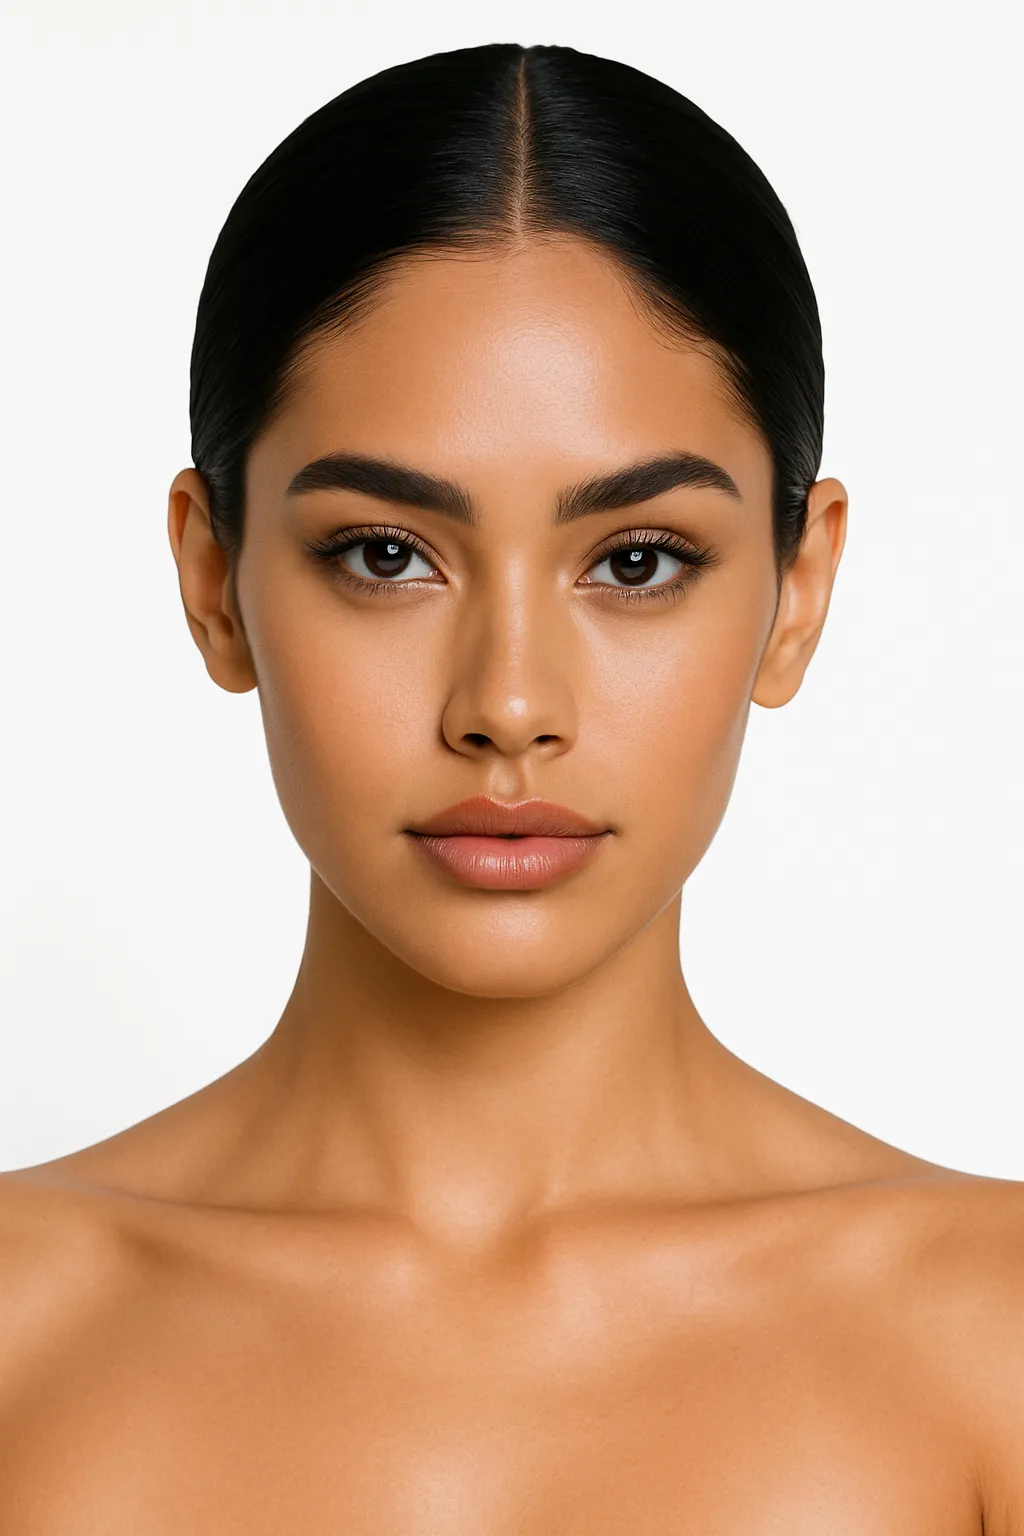
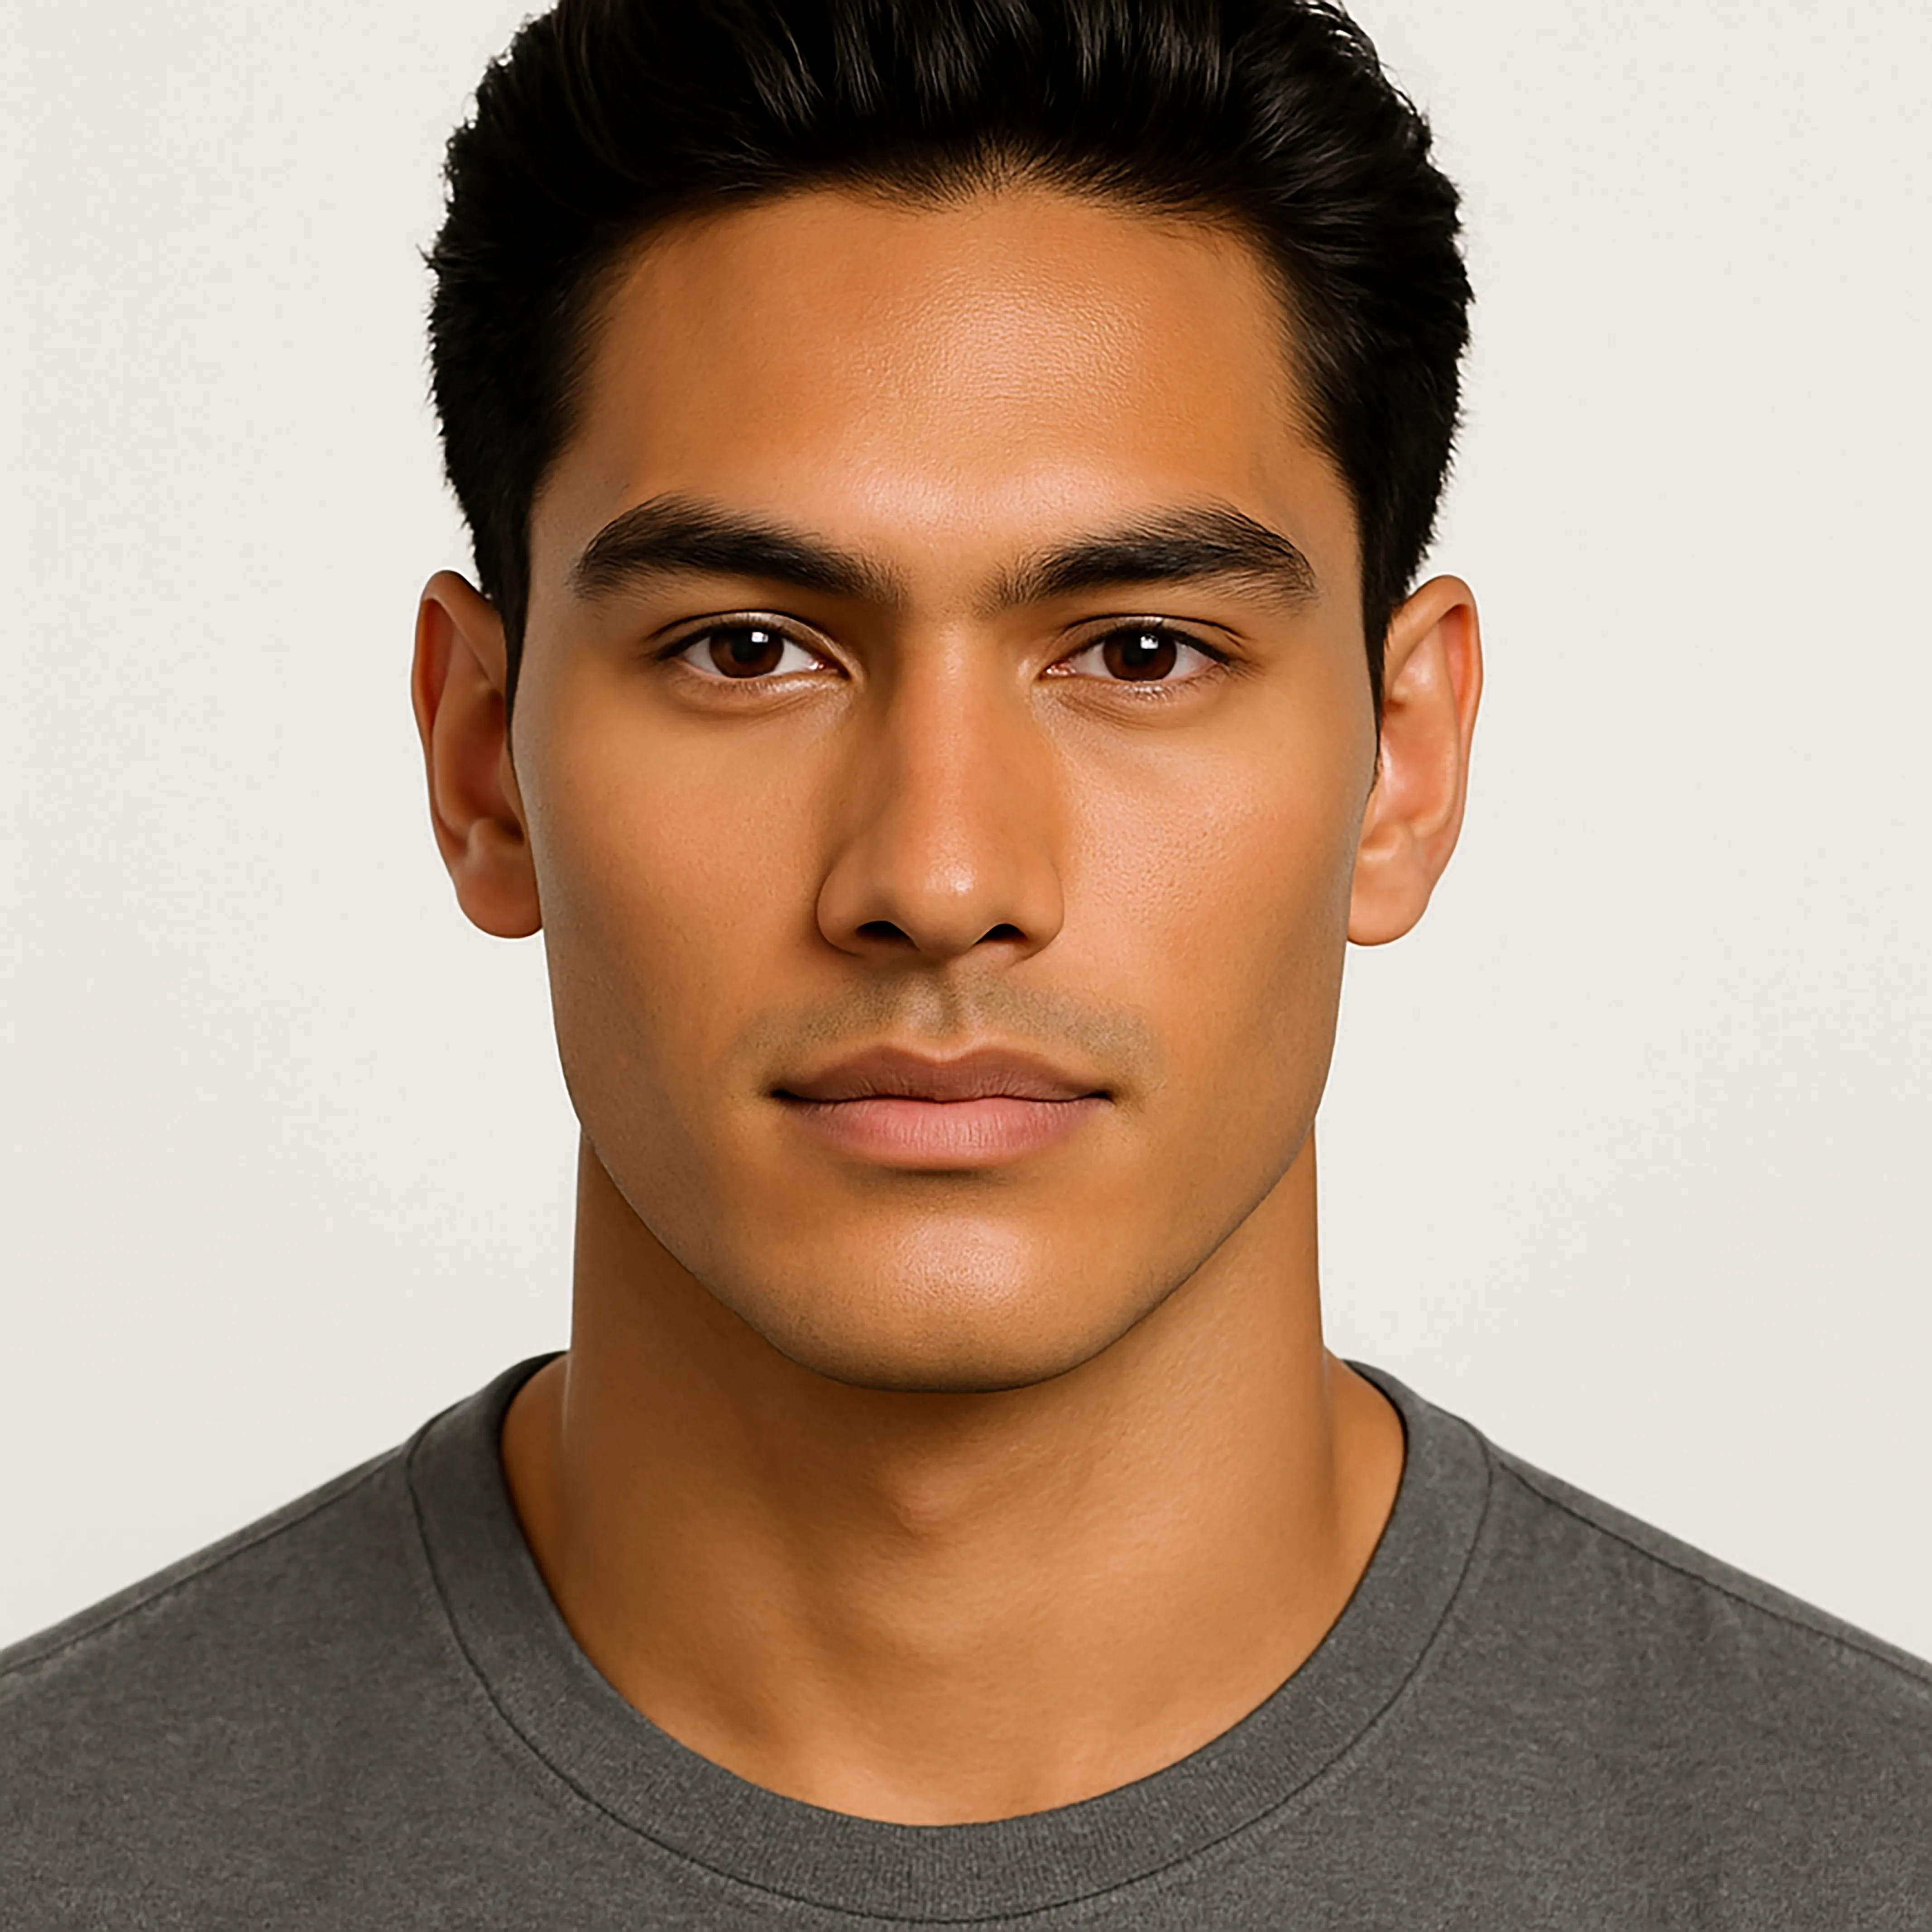
- Look directly into the lens with a completely neutral expression, lips closed and relaxed.
- Head level and straight: no tilt up or down, no turn, no lean. Line your pupils up horizontally.
- Hair off the face and behind the ears. The hairline, ears and jaw must all be visible.
- Remove glasses. Frames hide the canthi and brow landmarks.
- No filters, beauty modes or portrait blur. Turn HDR off if it is producing halos.
Side photo checklist
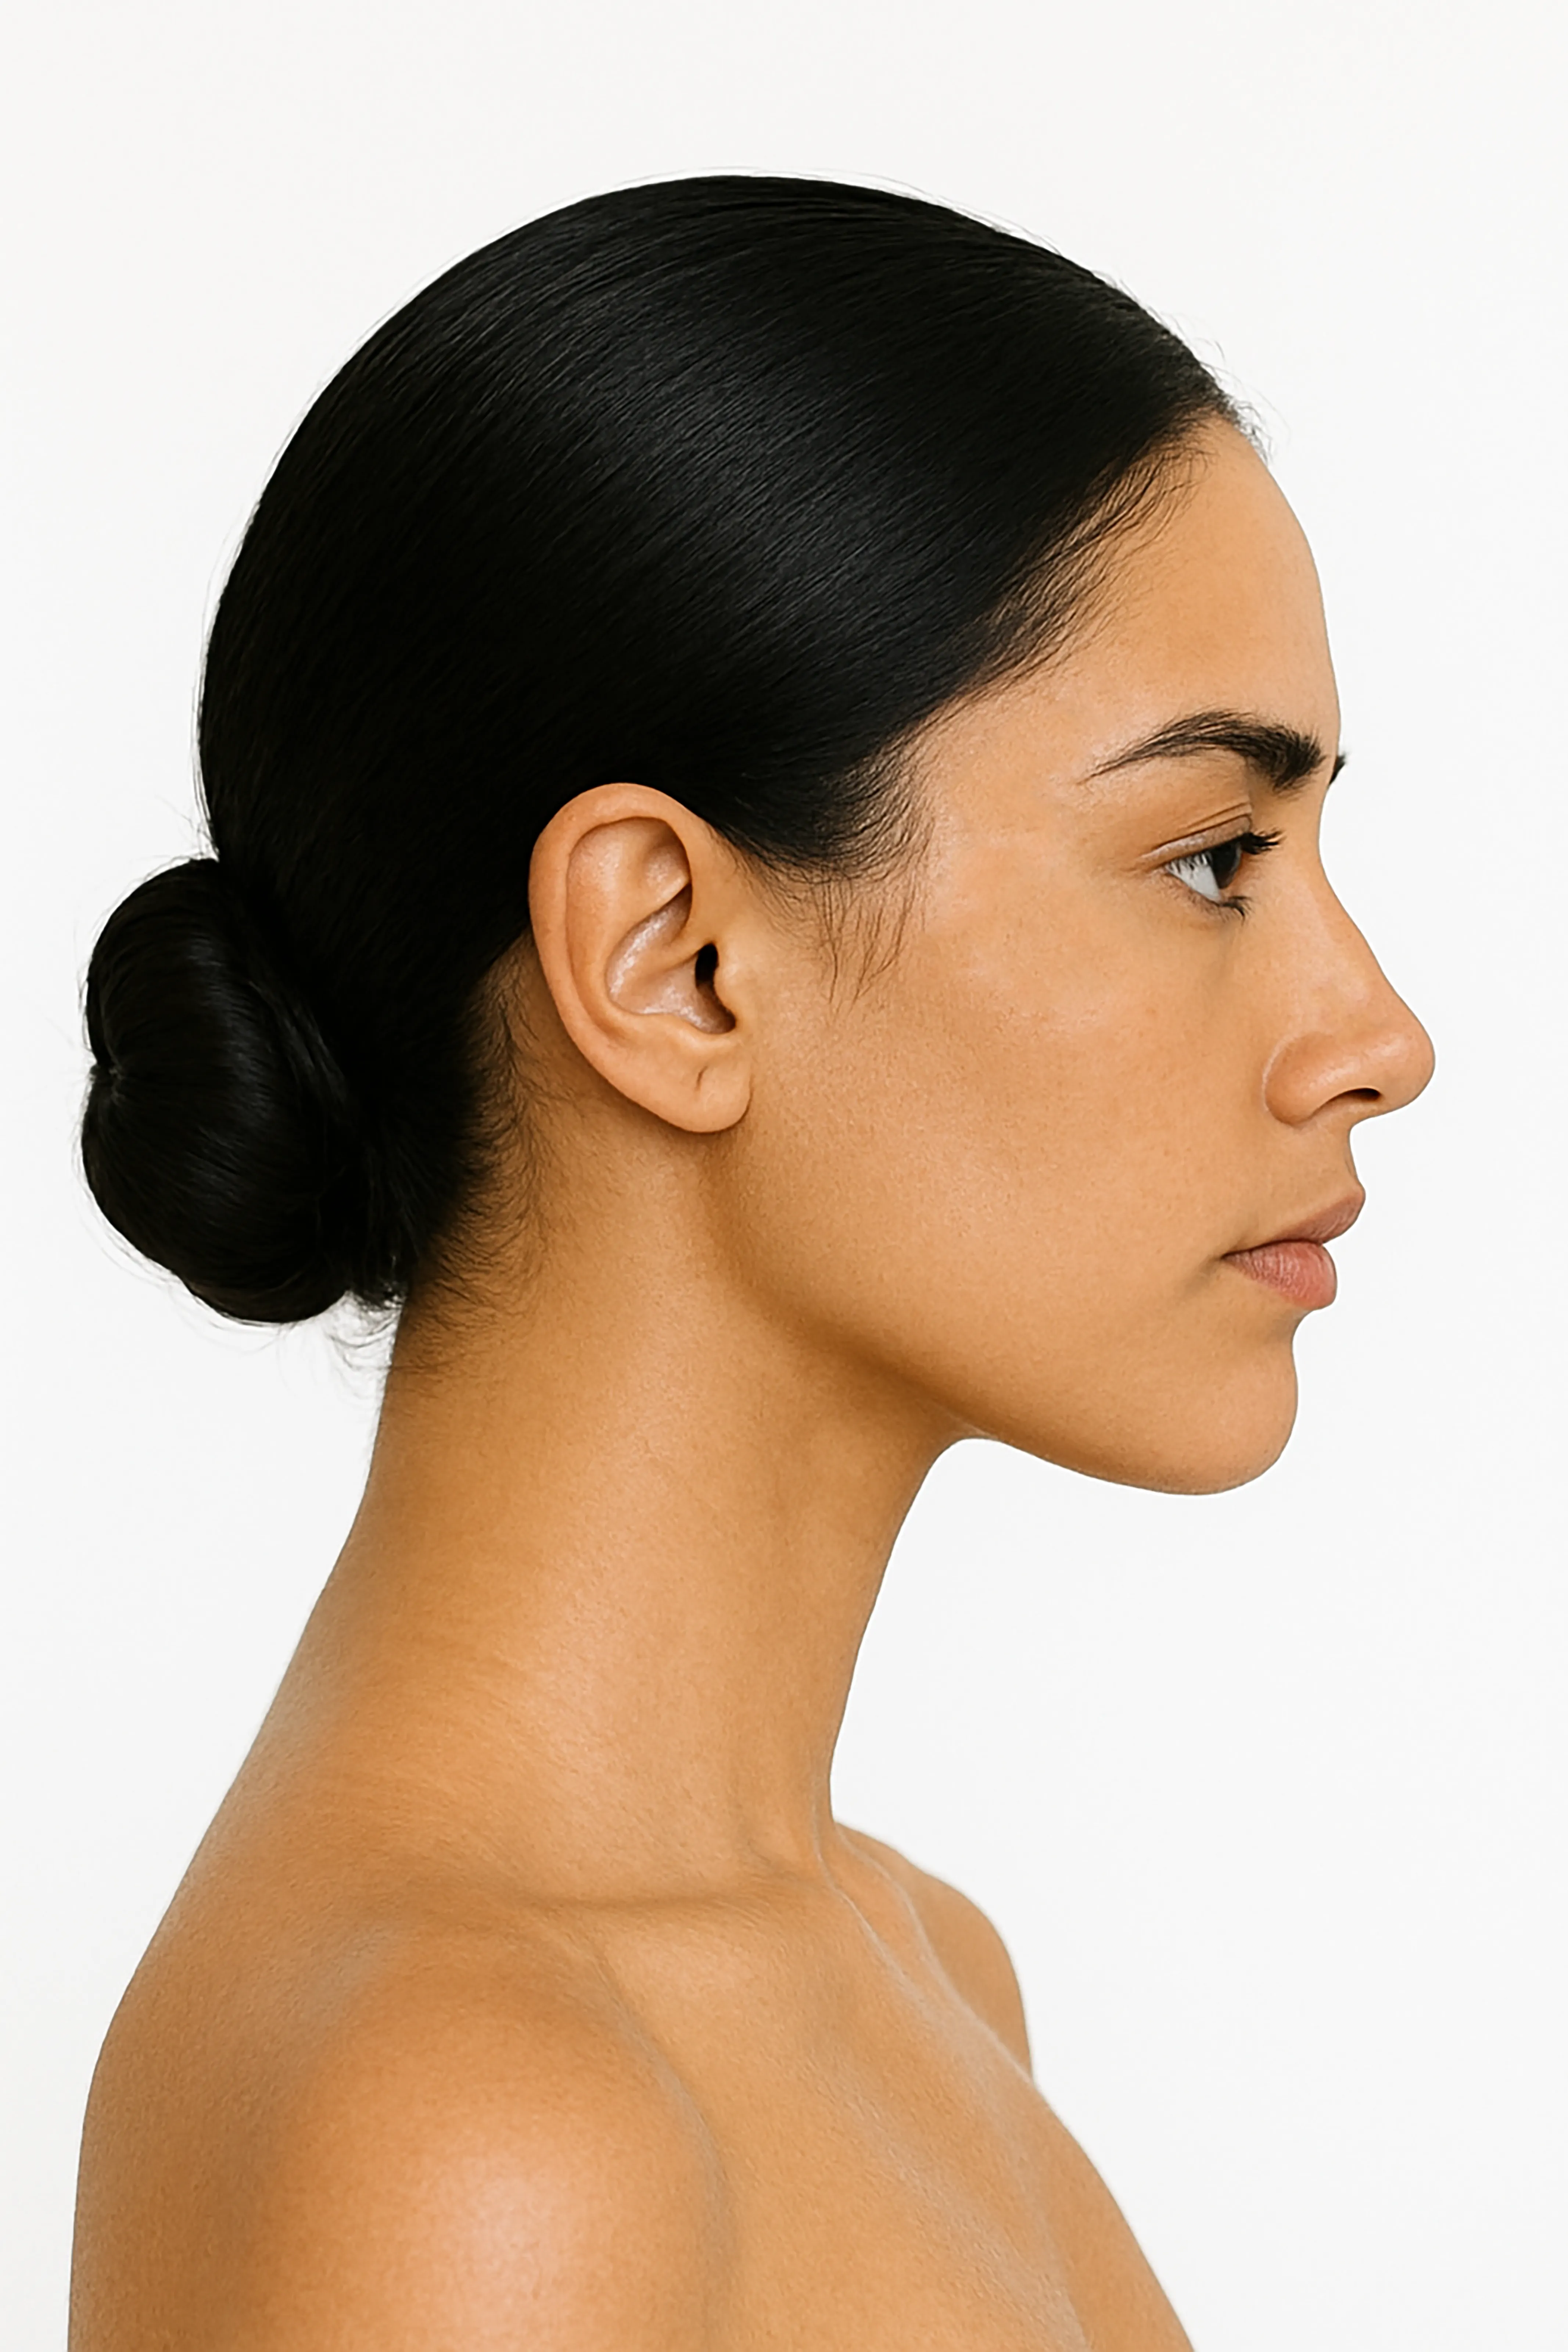
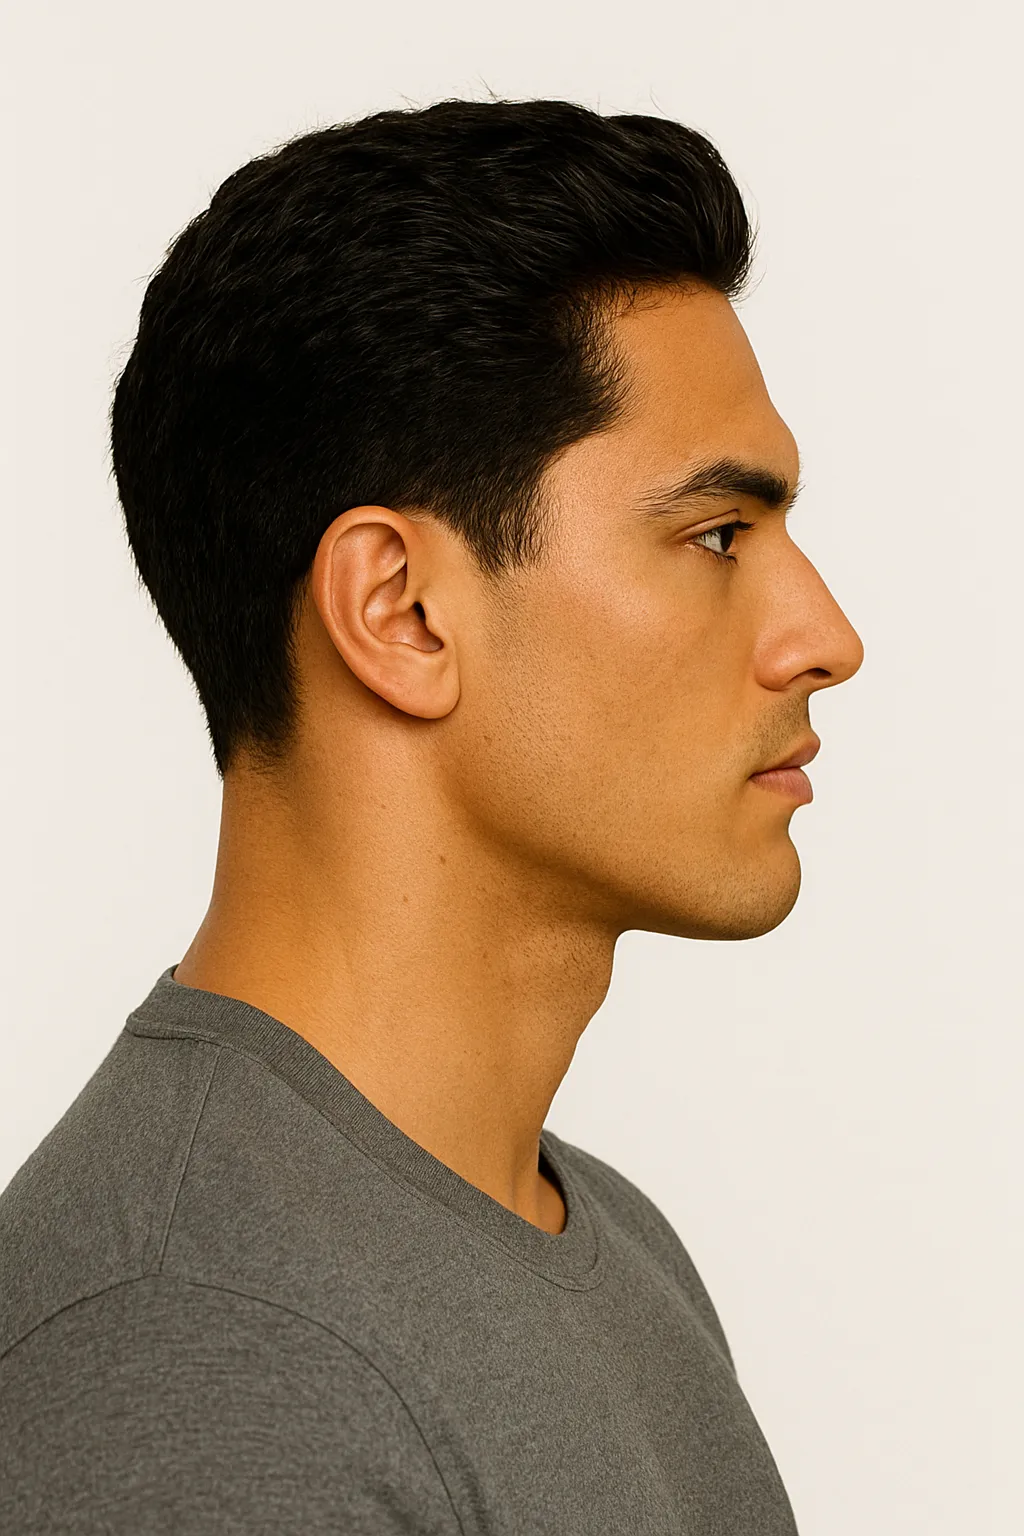
- A true 90° profile. Your gaze should be perpendicular to the camera; if you can see the far eyebrow in the shot, you are turned too far.
- Look straight ahead at eye level, not at the phone. Looking down drops the chin and closes the neck angle.
- The whole profile visible from the top of the forehead to below the chin, with the ear uncovered.
- Neutral expression, lips closed. Do not clench the jaw or push it forward.
The Frankfort plane
Side measurements depend on the head being level. During landmarking the side photo is standardised to the Frankfort horizontal plane, the line from the top of the ear canal to the lowest point of the eye socket. This corrects a small tilt, but it cannot repair a photo where you were looking down or up by a lot. Keep your head level when shooting and the correction has very little to do.
Consistency for progress tracking
If you want to compare analyses over time, take every set of photos the same way: same spot, same distance, same light, same time of day. Small changes in setup can move a Harmony score by a few tenths, which is the same order of magnitude as real change over a few months. Write your setup down.
Watch it done
The video walkthrough covers the setup and shows landmark placement on a real face. It is the fastest way to get both right the first time.
Watch the photo tutorial on YouTubeOnce your photos are right, the next place accuracy is won or lost is landmark placement. Continue to Why is my rating inaccurate?
Still need help with your photos?
Send us a message and a person will get back to you.